

Envoy Integration Documentation Overview
Onboarding to Envoy Dashboard
Section titled “Onboarding to Envoy Dashboard”- Navigate to https://dashboard.envoy.is/authentication/register/
- Complete the form by providing email address and password.
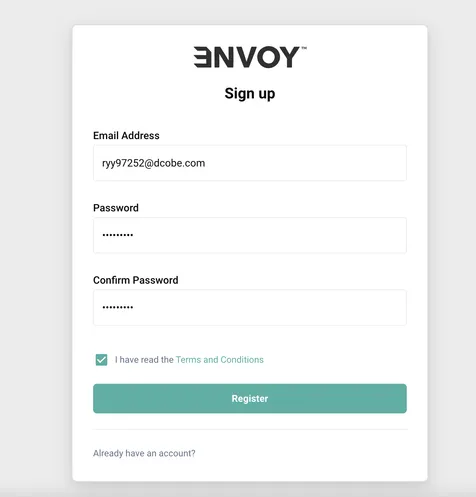
Submit the form and continue after receiving confirmation message
- Log in to the dashboard to complete onboarding.
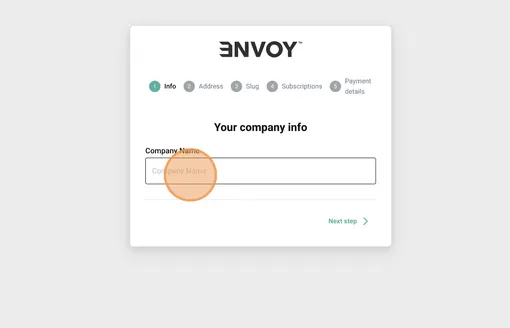
- Fill the Company Name field.
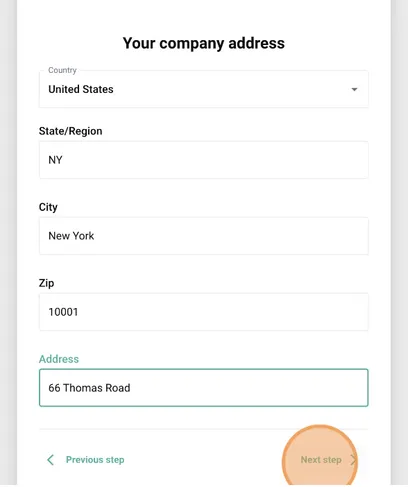
Fill the company address fields.
Fill the public slug field. When choosing a slug, it is worth considering that this will be the landing domain generated by the API.
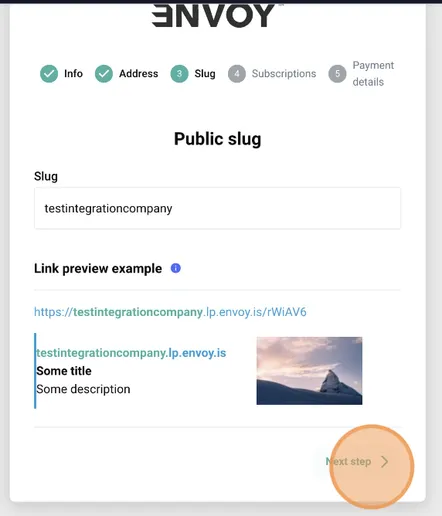
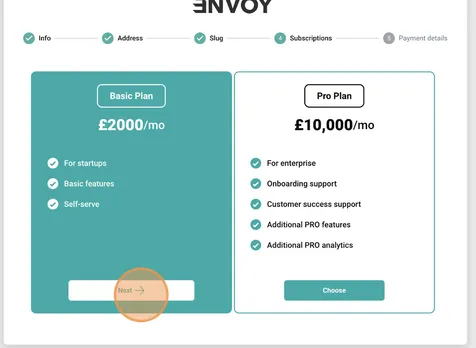
Choose the plan that suits you best
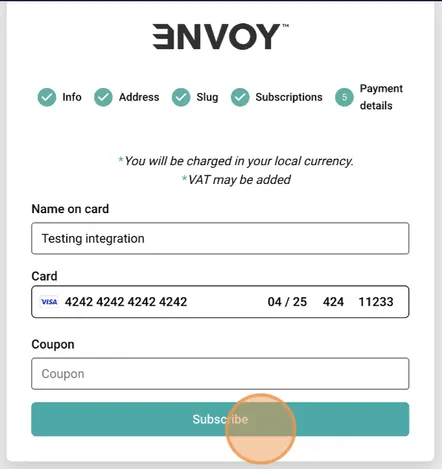
Fill the payment details fields and submit the subscription.
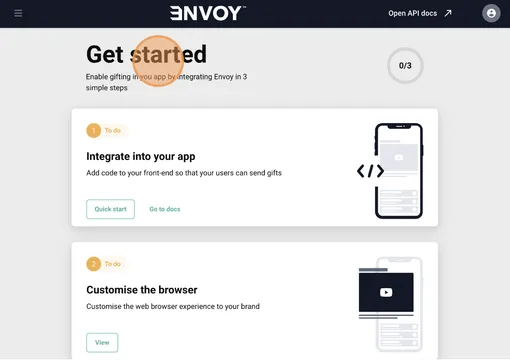
Get started with Envoy.
Dashboard functionalities
Section titled “Dashboard functionalities”Account
Section titled “Account”To go to the Account section click Profile icon and Account button. In this section you can see the API key, add users to the dashboard, delete the account, and check the account details.
Account deletion
Section titled “Account deletion”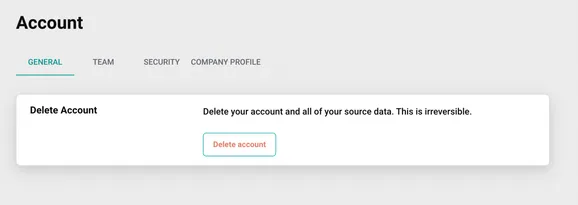
Adding users
Section titled “Adding users”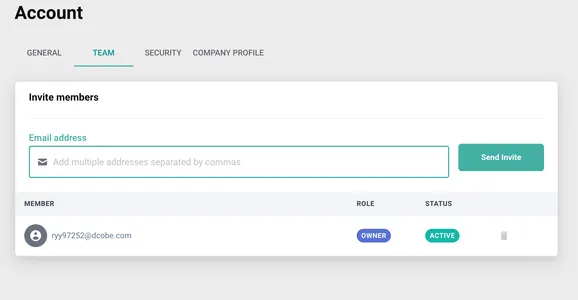
API key and quota usage
Section titled “API key and quota usage”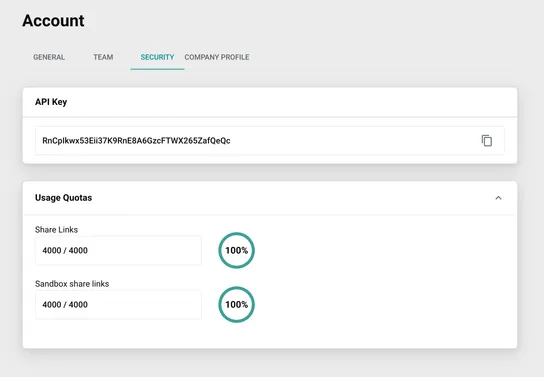
Account data
Section titled “Account data”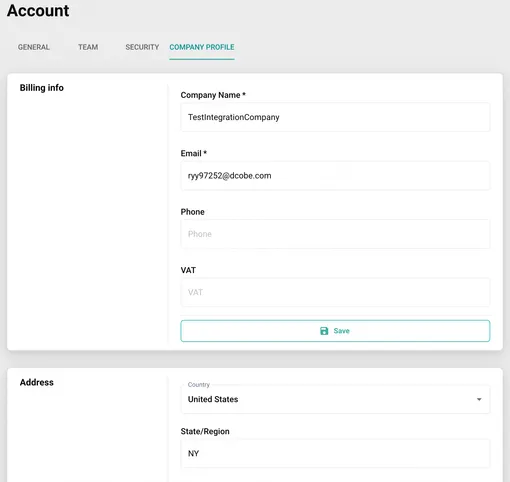
Customisation
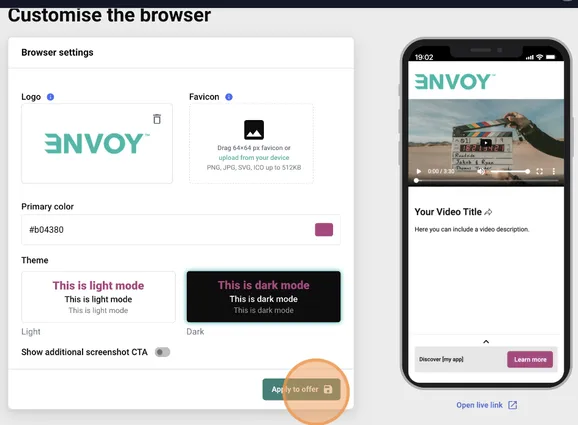
Section titled “Customisation”In this section you can customize the look of your landing page. You can set your logo, icons, and colors.
Offers
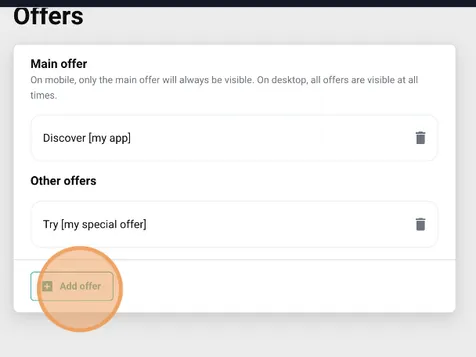
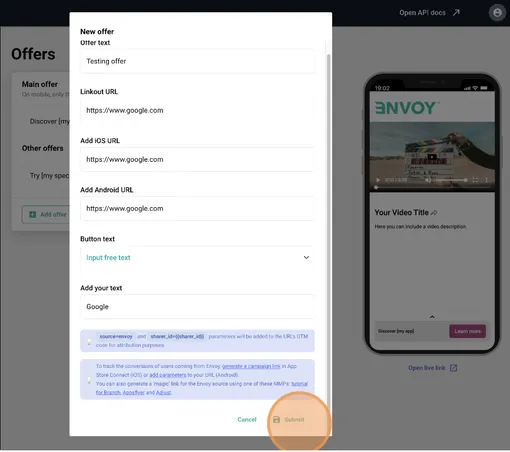
Section titled “Offers”In this section, you can customize the number and content of offers that are displayed on your landing page.
Analytics
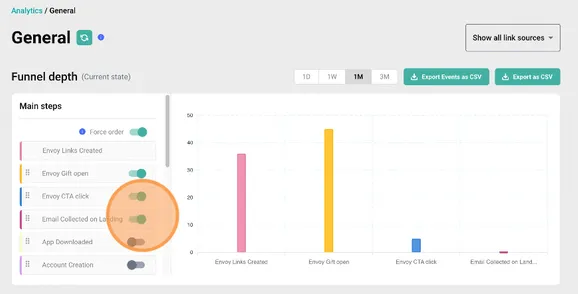
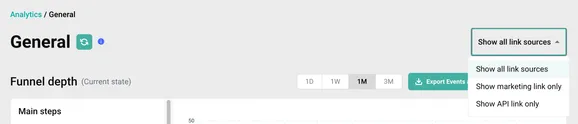
Section titled “Analytics”In this section you can check analytical data such as the number of links created, the number of link openings and clicks, titles or content with the most openings, etc. You can also check the data in the funnel and filter it by its source.
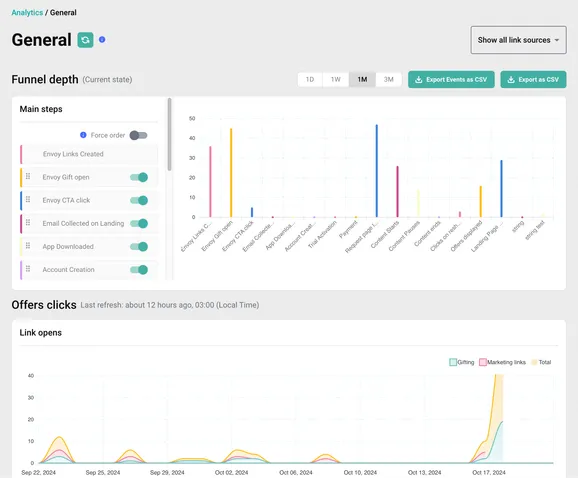
Enabled funnel order
Source filtering applies to all charts in a section.
Rewards
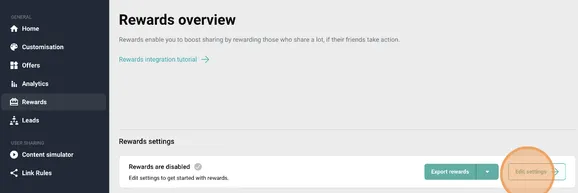
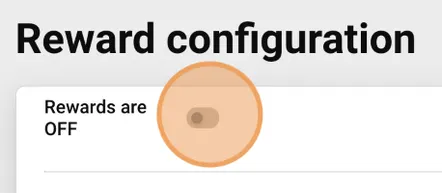
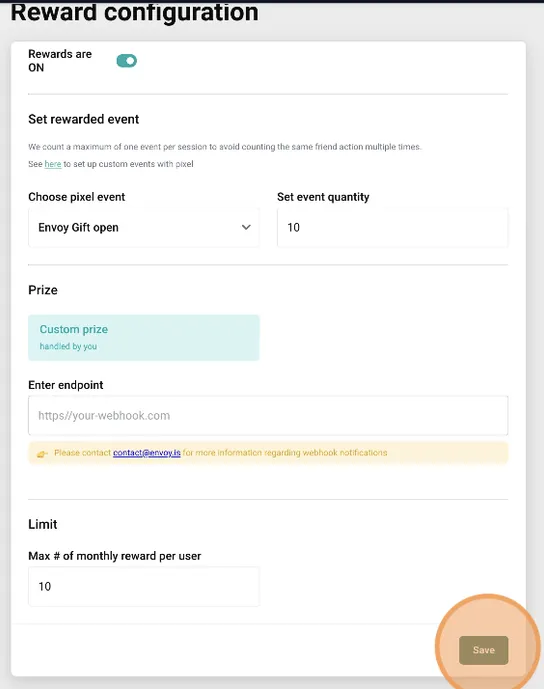
Section titled “Rewards”In this section you can enable or disable the rewards system. Once enabled, you need to select an event to track the rewards progress and the required threshold after which the reward will be awarded. You can also set the maximum number of rewards per month per user.
Content simulator
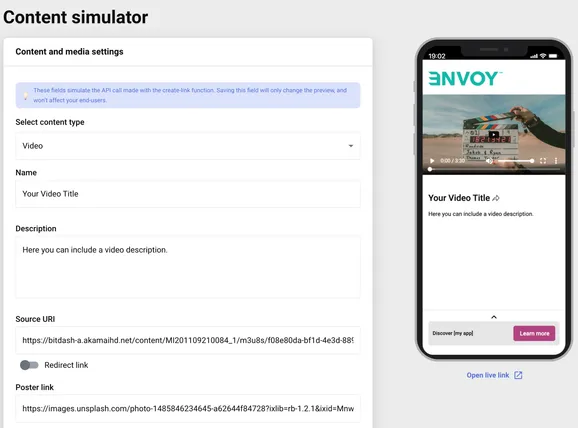
Section titled “Content simulator”In this section you can change the settings and parameters of the links in the available simulator. This allows you to test the links without having to create them from scratch every time.
Link Rules
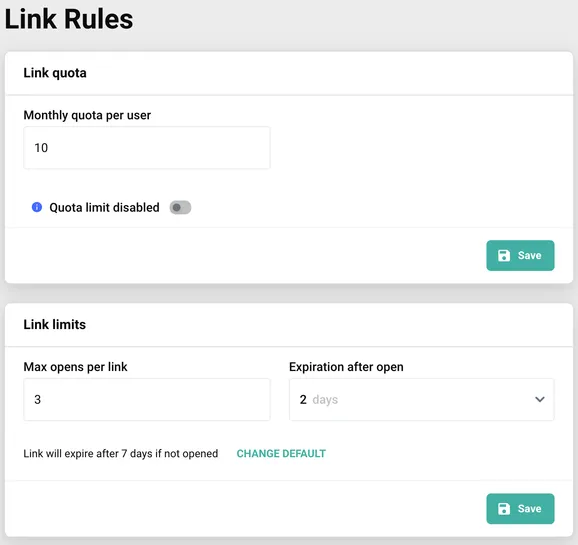
Section titled “Link Rules”In this section you can change settings related to the limit of the number of links for users. You can also set a limit on the number of times a given link can be opened and its lifetime.
Generate links
Section titled “Generate links”In this section you can create marketing links. Marketing links can be a single content link or an AdSlider that allows you to display multiple content and swipe it with a gesture. In this section you can also set additional swipeable content available in API links.
Create marketing link
Section titled “Create marketing link”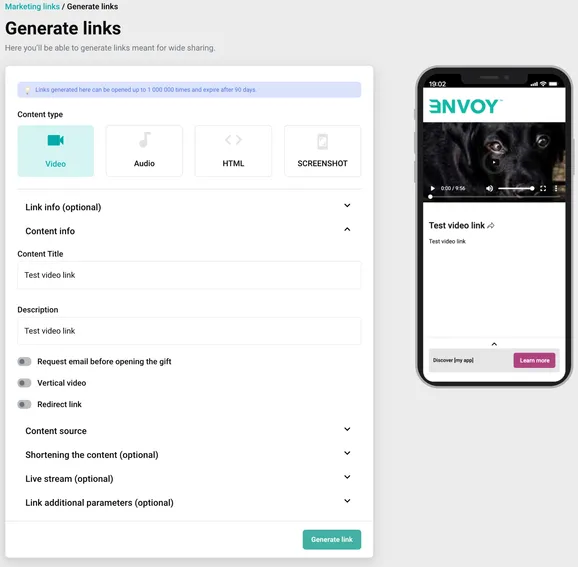
Create carousel link
Section titled “Create carousel link”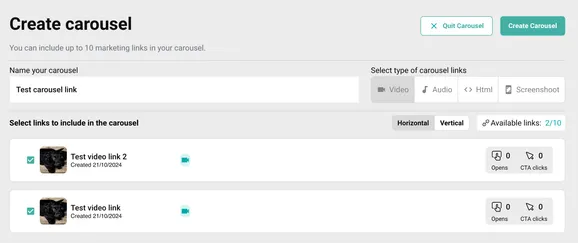
Manage API links
Section titled “Manage API links”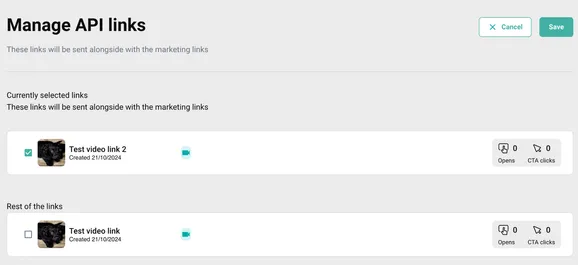
API Integration
Section titled “API Integration”To start API integration, you need an API key. To get it, you must complete onboarding and go to the Account section. All API endpoints are described in the OpenAPI documentation. If you want to connect to the API using postman you can download and import a ready-to-use Postman collection.
OpenAPI documentation
Section titled “OpenAPI documentation”Postman collection
Section titled “Postman collection”Envoy Platform- Partner API_21_10_2024.postman_collection.json