

Getting started with Envoy
Table of Contents
1. Before getting started
Section titled “1. Before getting started”1.A. Understanding the two sides of the experience
Section titled “1.A. Understanding the two sides of the experience”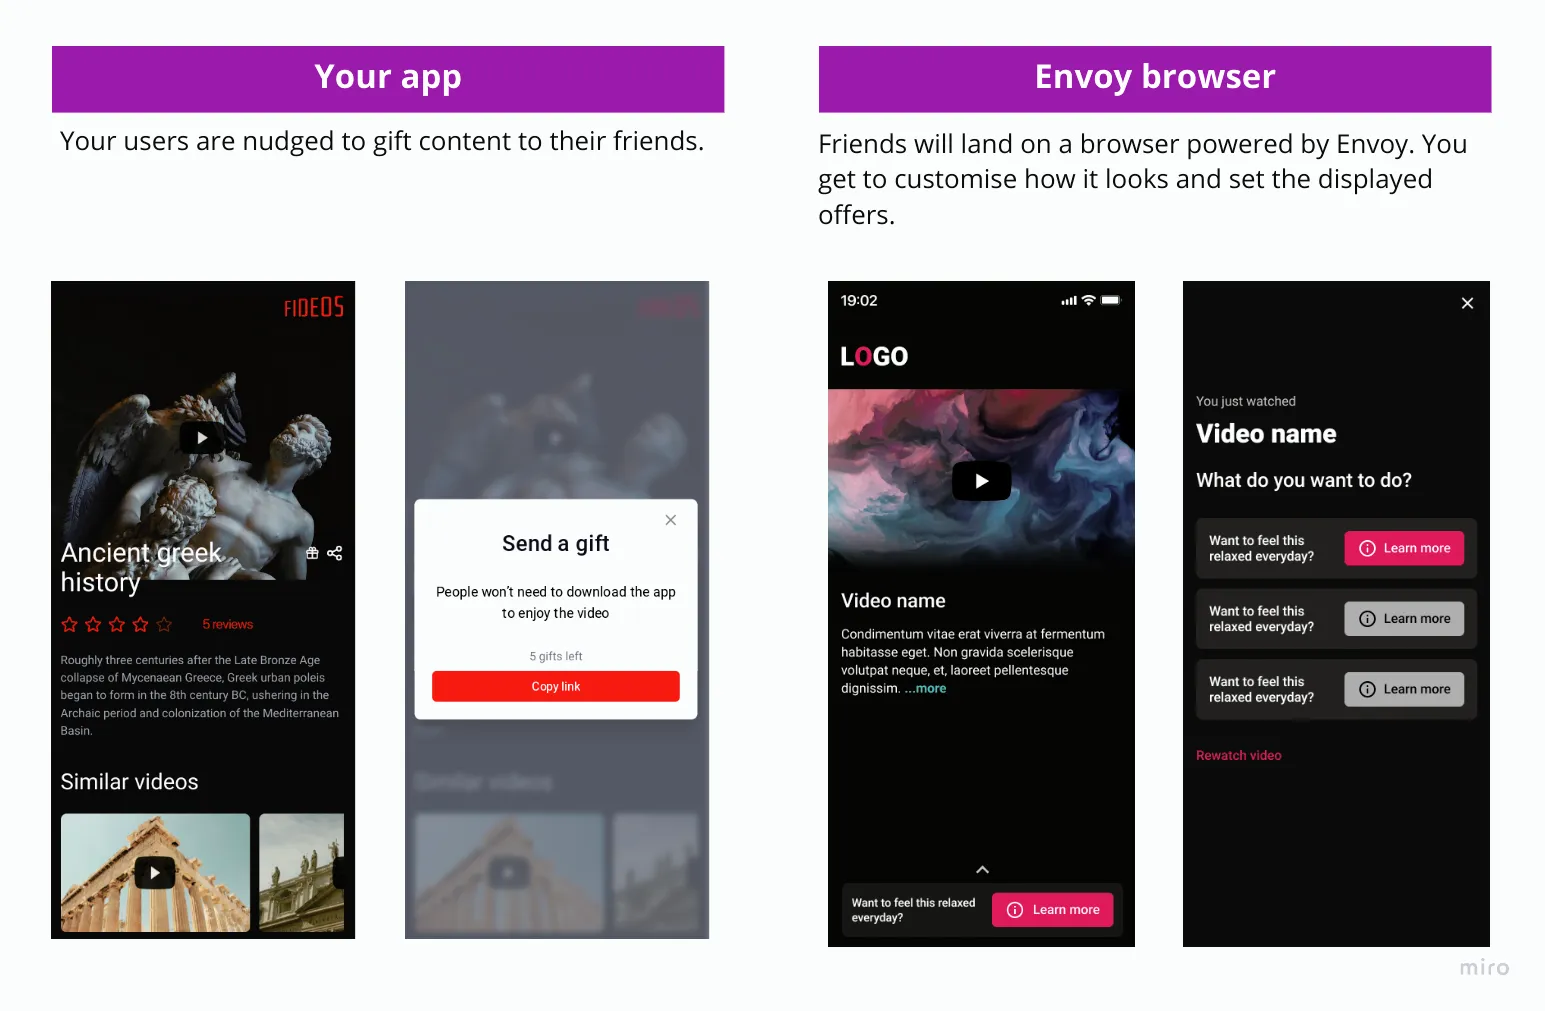
1.B. Creating an Envoy account
Section titled “1.B. Creating an Envoy account”At the moment signup is invite-only. We send you a link that will take you directly to your Dashboard once you’ve confirmed your email.
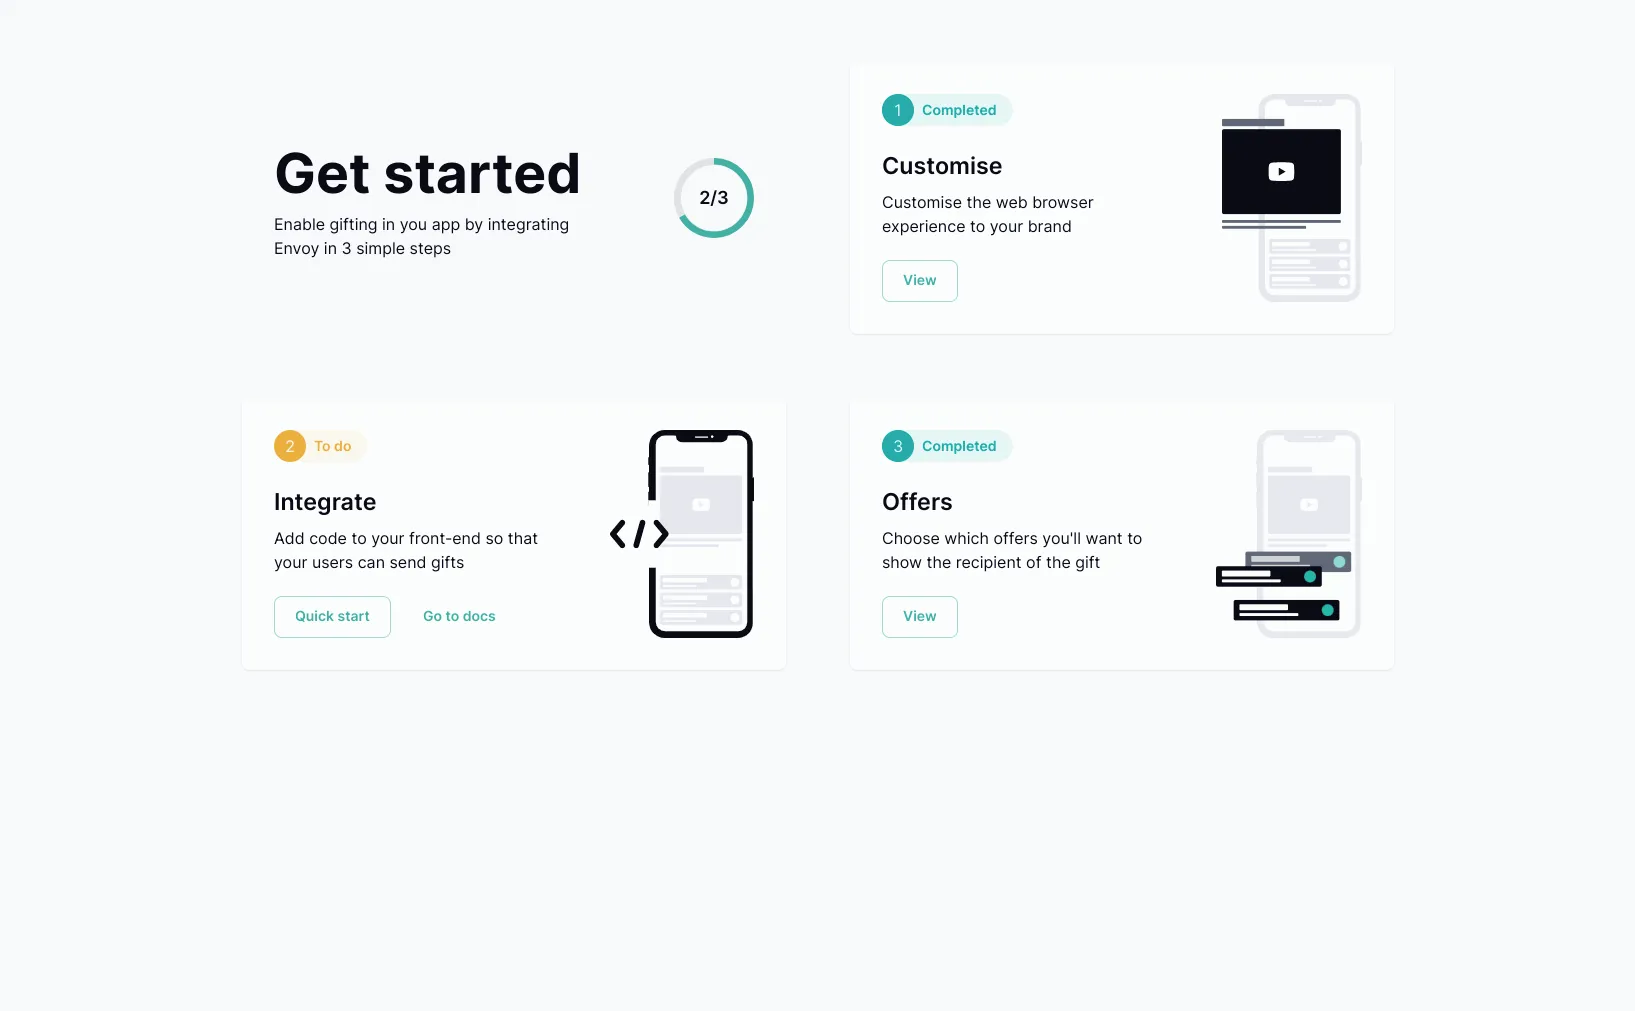
2. Enabling users to send gifts from your app
Section titled “2. Enabling users to send gifts from your app”2.A. Generating a gift link
Section titled “2.A. Generating a gift link”See API docs.
2.B. Designing a gifting journey
Section titled “2.B. Designing a gifting journey”i. The quickest journey to build
Section titled “i. The quickest journey to build”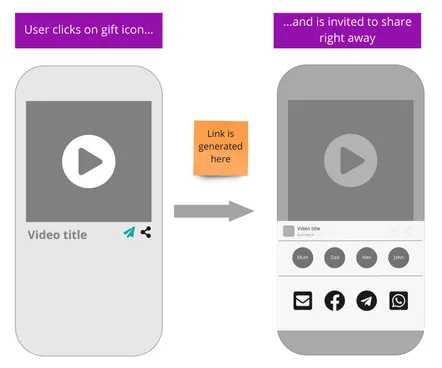
ii. Standard journey
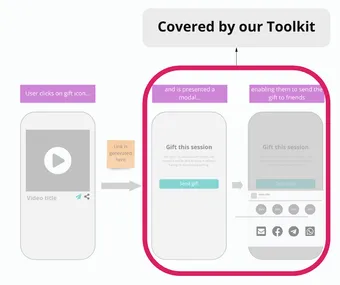
Section titled “ii. Standard journey”One of the first things you need to think about is where in your you’ll first introduce the gifting feature to your users. Here’s an example of a classic journey.
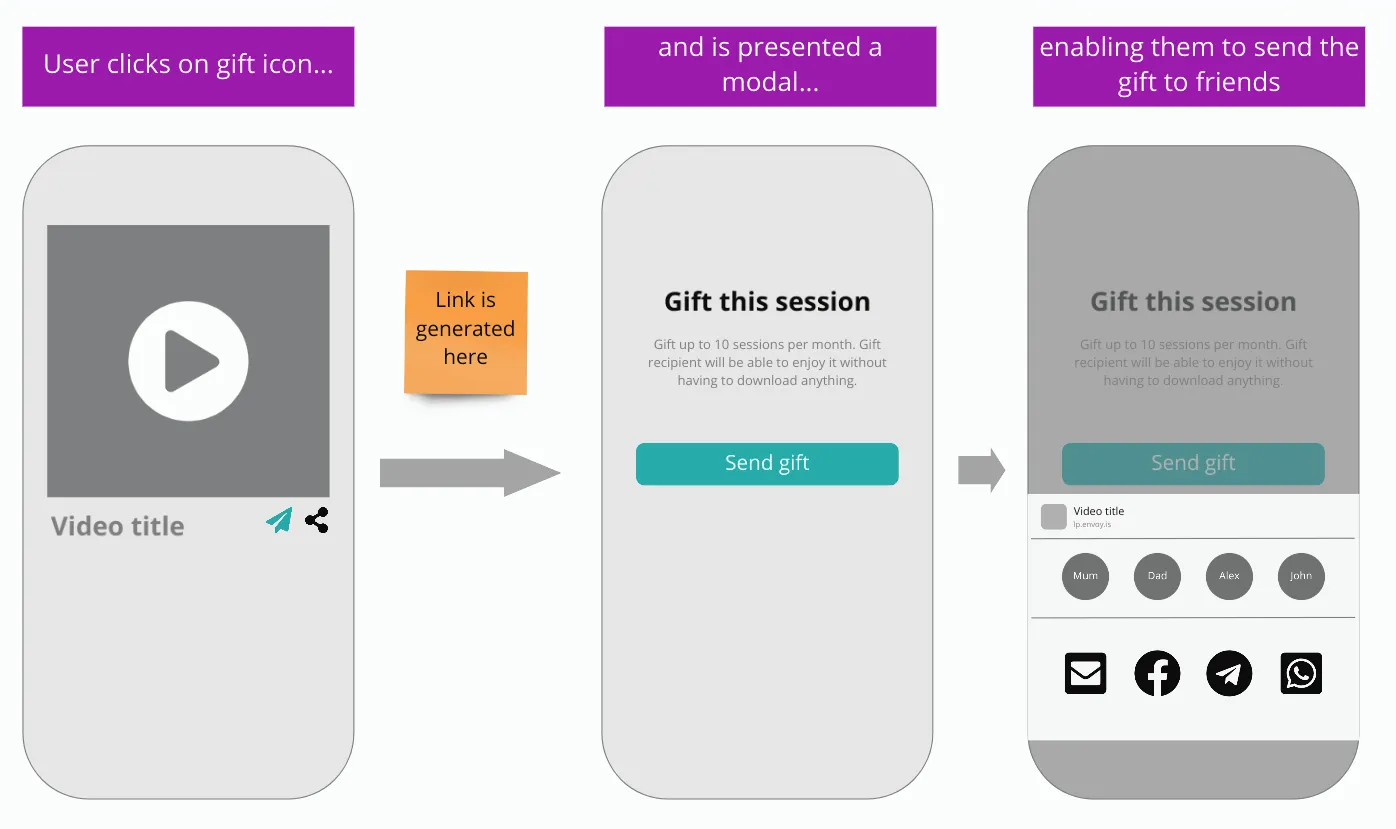
iii. Using our toolkit
Section titled “iii. Using our toolkit”These last two screens are covered by our Toolkit’s UI components. This means you won’t have to code these components from scratch.
2.C. Presenting gift link to user
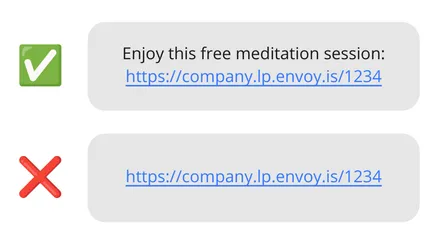
Section titled “2.C. Presenting gift link to user”Messages get a better open rate when the gift link is shared with a little context.
3. Configuring the Envoy browser
Section titled “3. Configuring the Envoy browser”This will determine the look and feel of the Envoy-powered browser potential users land on once they’ve clicked on a gift link.
This configuration is set from your dashboard, on dashboard.envoy.is , once you’ve created an account.
3.A. Customise to your brand
Section titled “3.A. Customise to your brand”In the Customisation section of your dashboard, you customise the browser the recipient of the gift lands on.
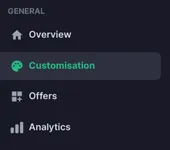
There are only 3 components to customisation:
- Uploading your logo. Any image format works. 💡 We recommend you make it wide, rather than tall, and that you use a transparent background.
- Indicating your primary colour.
- Choosing either light or dark mode. That’s usually obvious from your existing brand colours.
3.B. Setting offers
Section titled “3.B. Setting offers”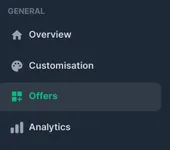
In the Offers section, you set the offer those who consume gift content will see.
Right now, all offers are of the ‘link-out’ type: you get to choose the text that goes with a “Learn More” CTA.
Here’s what the browser looks like when customised with the following elements:
| Example configuration | Browser output | ||
|---|---|---|---|
| Customisation | Offer | Mobile view | Desktop view |
• Logo is this image:  • Primary colour is this dark pink:  • Mode is ‘dark’ |
3 times the same meditation app CTA: ‘Want to feel this relaxed everyday’? |
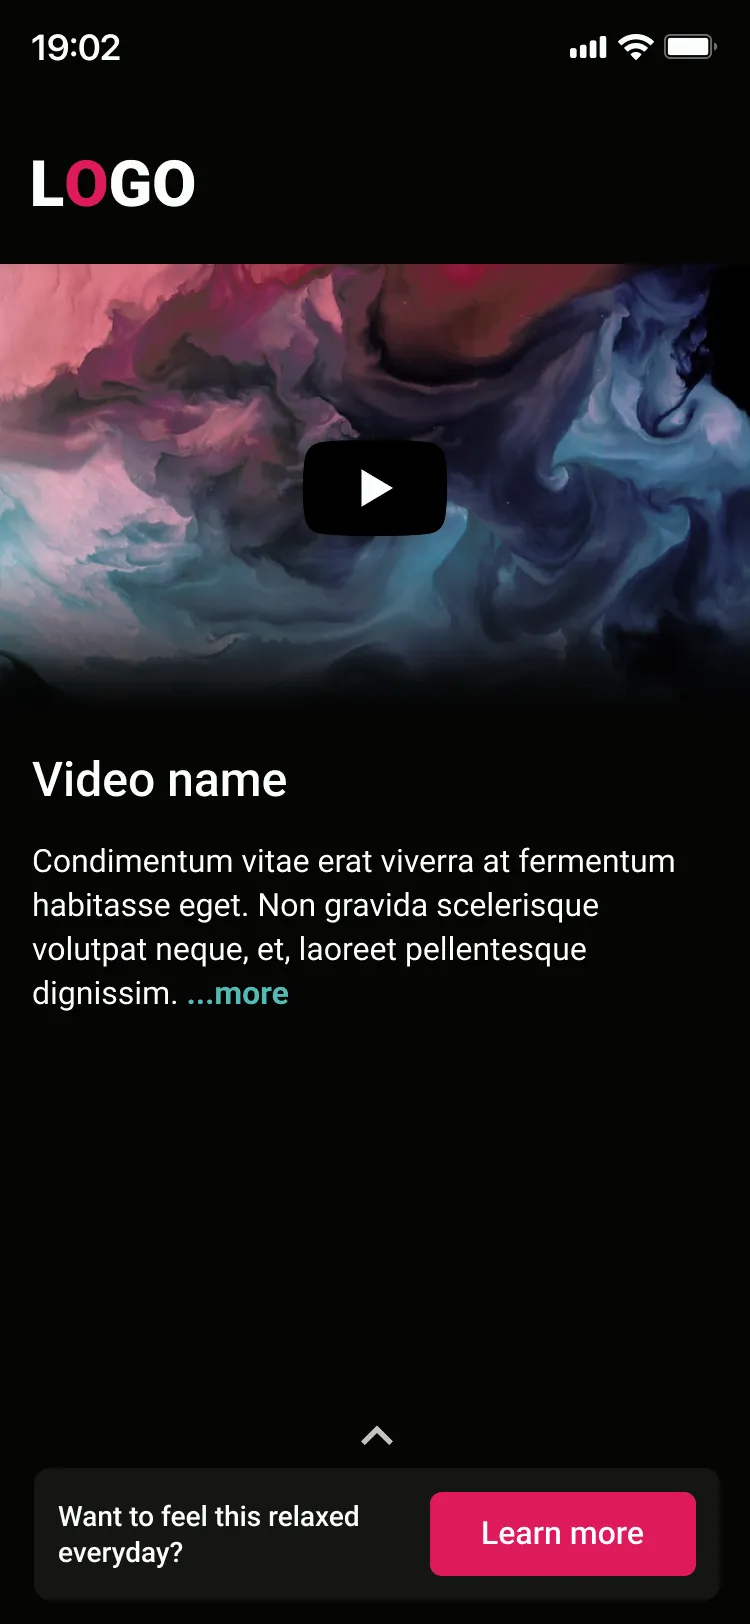 |
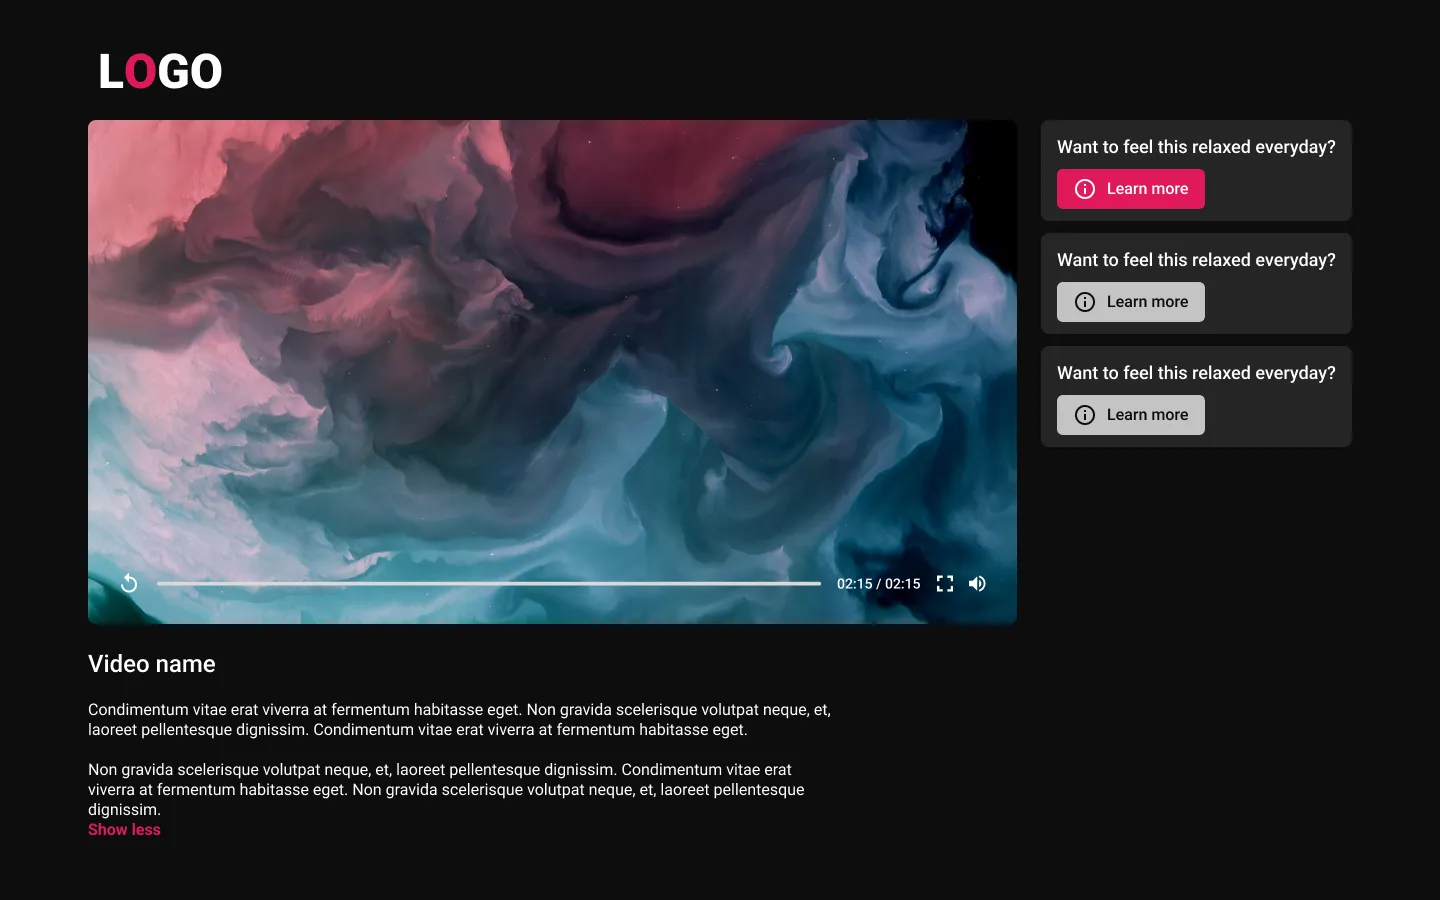 |
Thank you for reading, please send us your feedback and feature requests over at info@envoy.is. 👋